picoCTF 2024 - Dear Diary
Write-up | picoCTF 2024 | Dear Diary
Description
If you can find the flag on this disk image, we can close the case for good! Download the disk image here.
Hint: If you’re observing binary data raw in the terminal you may be misled about the contents of a block.
Initial steps
Approach 1
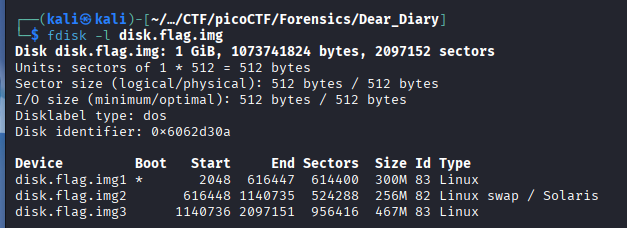
As usual, I did fdisk -l to see the partition table of the disk image:
I extracted each partition thanks to dd like what I did in the previous challenge.
After that, I proceeded to analyze the swap space for sensitive strings or artifacts.
Since operating system can move memory pages from “inactive” processes to swap instead of RAM, this partition usually contains volatile data remnants. This includes plain-text passwords, snippets of opened documents, or fragments of executed commands that were previously stored in memory.
To do so, I executed strings disk.flag.img2 | grep "pico" and strings disk.flag.img2 | grep "pico", respectively:
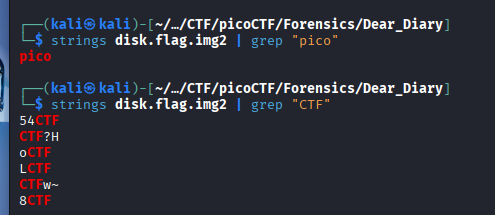
It seemed like the plaintext was probably segmented, and there’s a lot of red herrings, so it is kind of a waste of time to find the flag here.
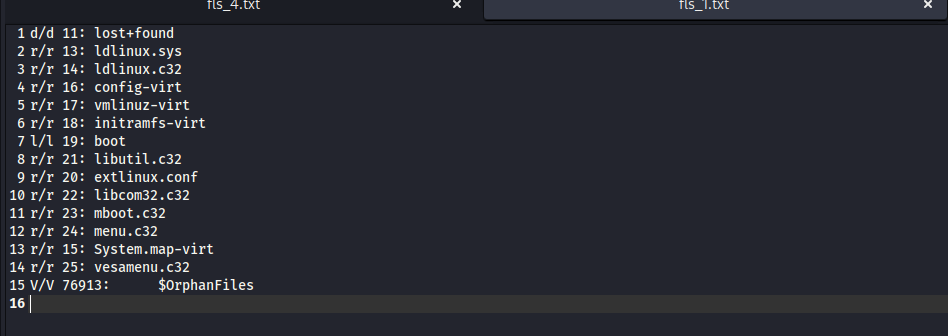
Next, we move to the first partition. I used fls -r disk.flag.img1 and saw nothing special:
Let’s come to the last one by using fls -r disk.flag.img2. After scrolling down to last lines, a lot of suspicious files appeared in the root directory:
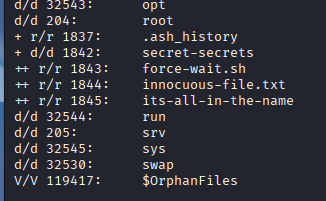
We need to extract all of these by using icat (example).
Checking .ash_history, seemed like the hacker ran force-wait.sh:

In force-wait.sh, there was only a harmless command:

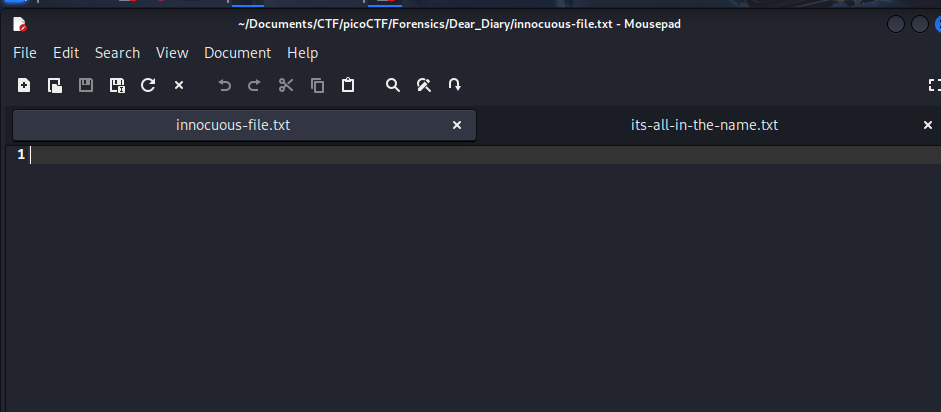
Both innocuous-file.txt and its-all-in-the-name were empty:
Approach 2
In this approach, I utilized Autopsy instead of running commands.
Click Data Sources -> disk.flag.img_1 Host -> disk.flag.img -> vol4 (this is vol3 in the previous approach, because vol1 in this case is not allocated) -> root -> secret-secrets.
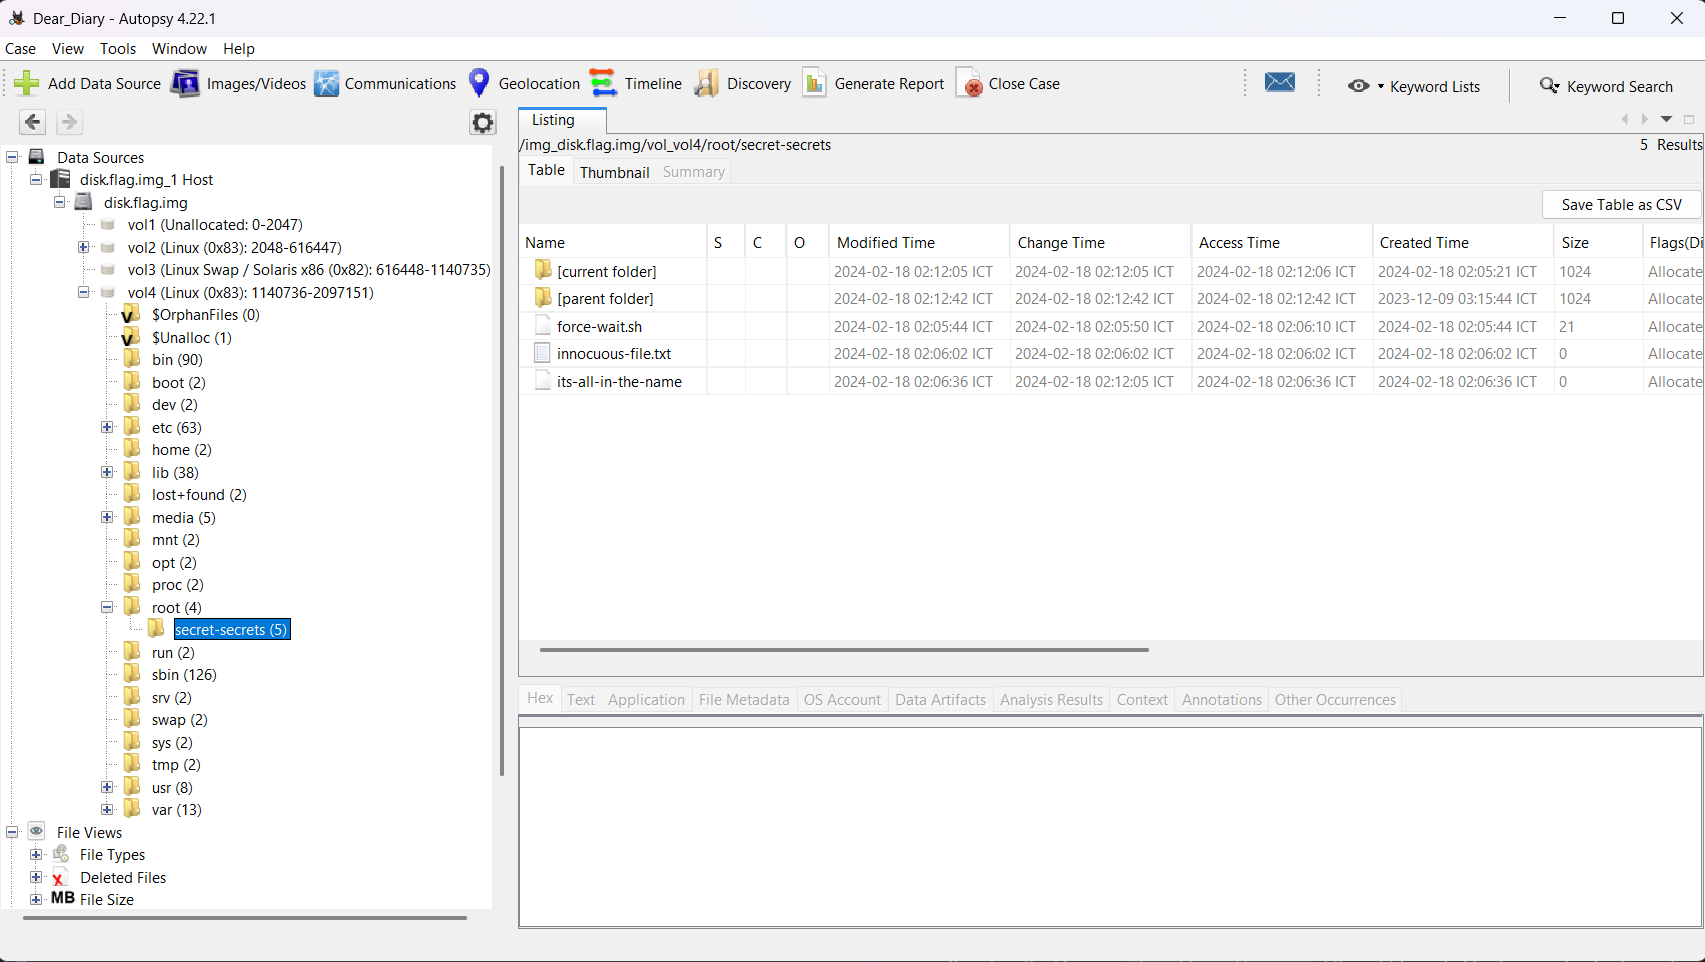
You can also see the same files like Approach 1.
Since the extracted files were empty, I suspected the actual flag fragments were left in the unallocated space due to insecure data disposal. Based on the meaning of the suspected file name its-all-in-the-name, I used HxD to search for the keyword “innocuous-file”.
Vulnerability analysis
Potential vulnerabilities
- Data Remanence
- Insecure Data Disposal
Solution paths
I used HxD, opened disk_flag_img3 and searched the keyword “innocuous-file”. Scanning through each result, I noticed the flag was scattered:
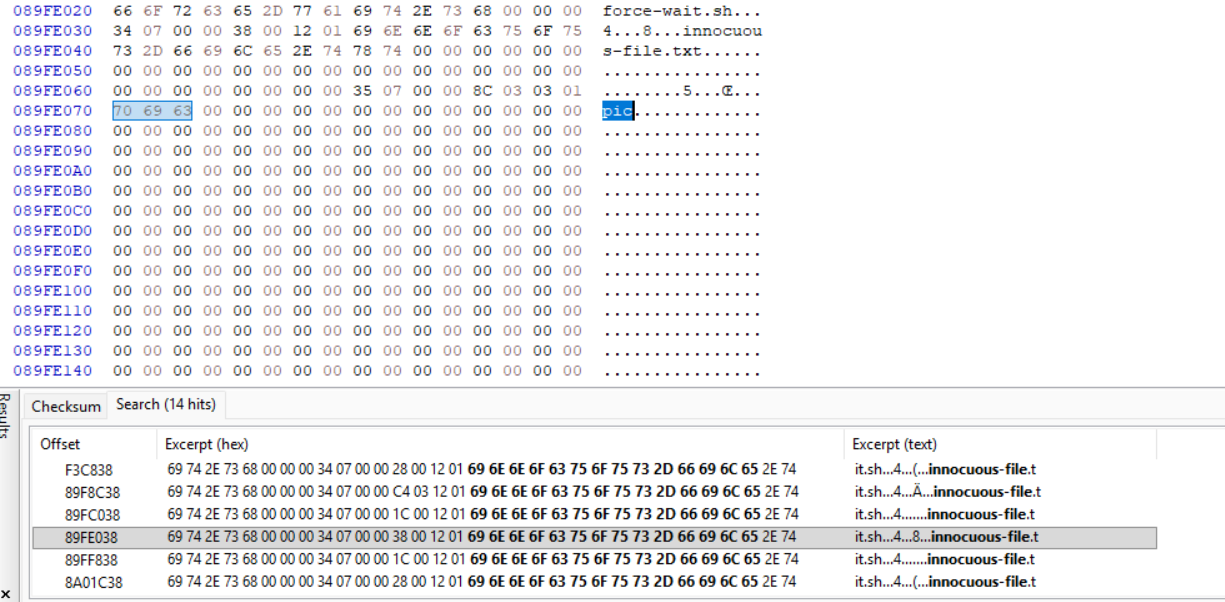
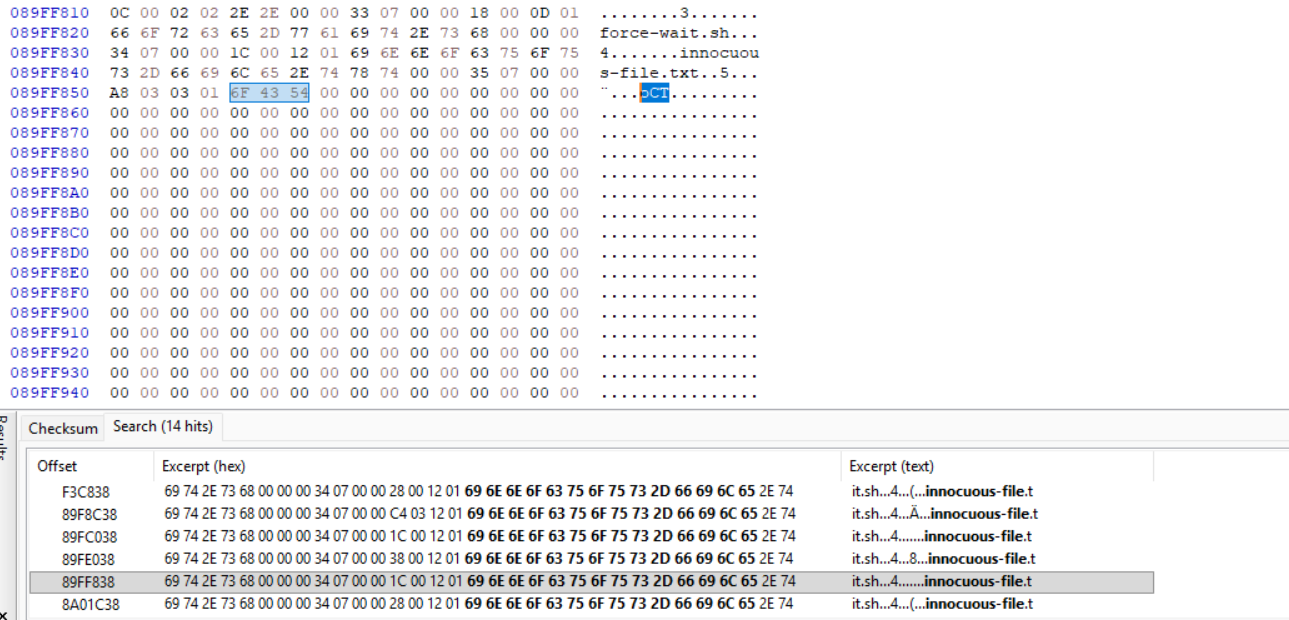
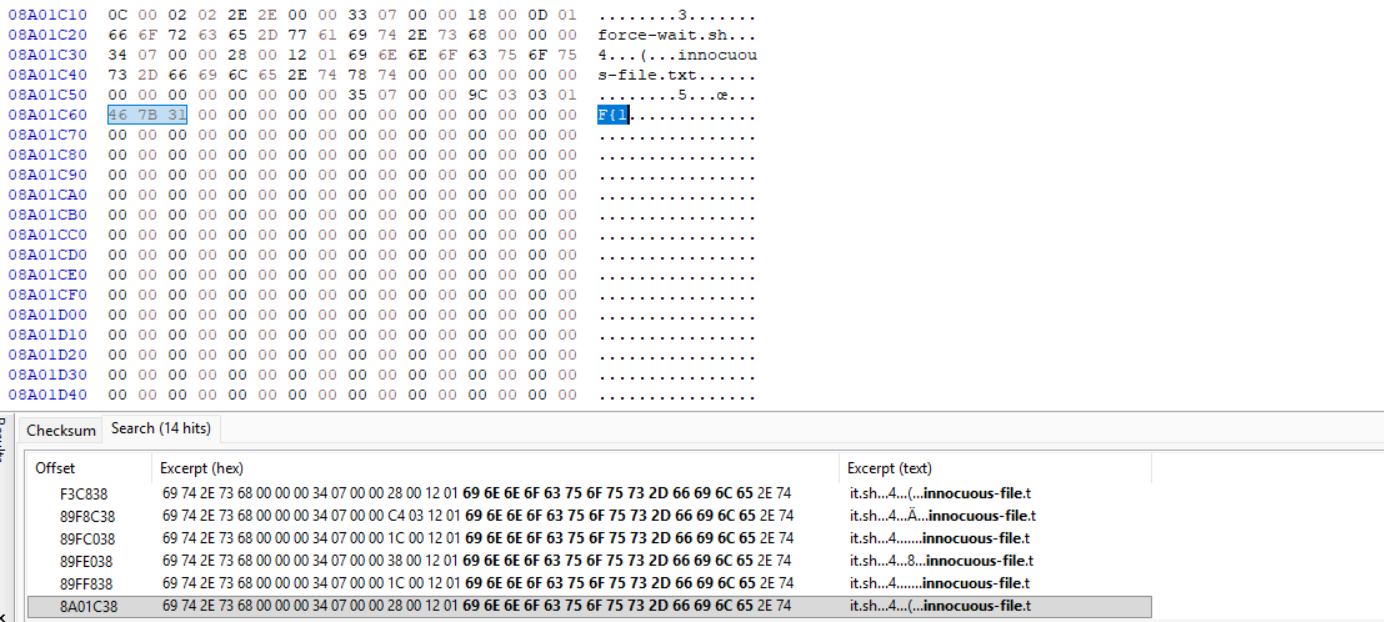
By copying each segment, we can get the flag.
Flag
picoCTF{1_533_n4m35_80d24b30}
DISCLAIMER: The code at the end of the flag may vary between versions, which means it is due to change. The flag provided in this writeup may not valid in the future.
Commands/Tools used
Commands/Tools Purpose(s) fdisk -lDisplay the partition list of the disk image. ddCopy a partition in a disk image and export it. fls -rDisplay all files and directories in a partition. icatExtract file from a partition. Autopsy Basically Sleuthkit but has GUI. HxD HEX code reader (and editor also).
What did we learn?
- Understand why our disk still has data of files that we deleted and how we can utilize it.
- Valuable data can be scattered throughout HEX code.